
Demolition Processes Explained: 7 Stages From First Walk-Through to Clean Handover
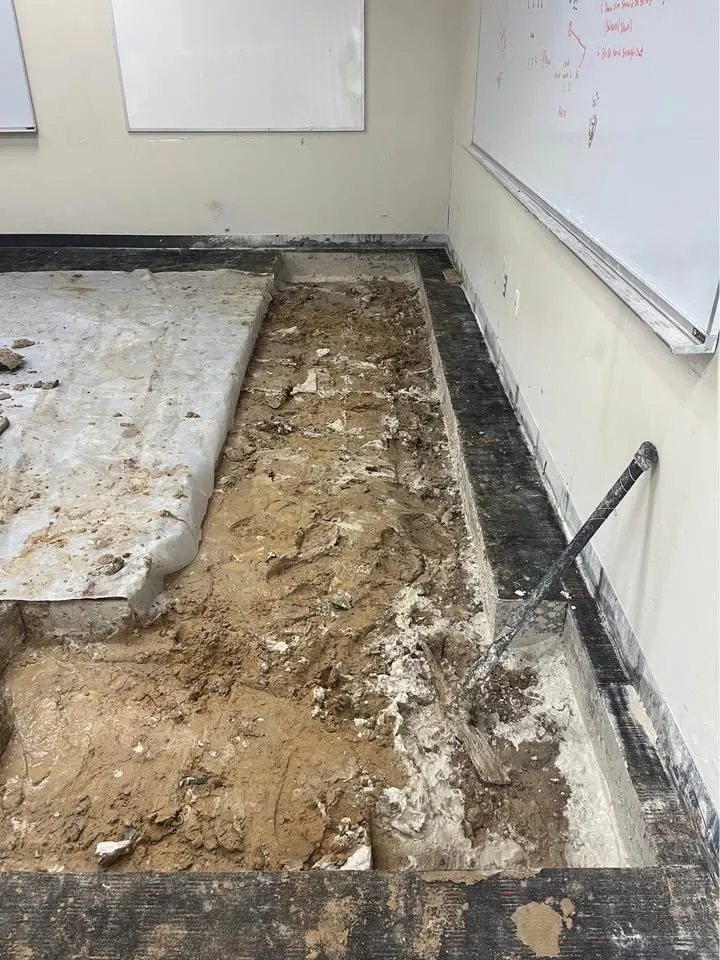
People tend to picture demolition as the loud part: the excavator, the dust, the wall coming down. In practice, that’s a small slice of the job. Good demolition processes are mostly planning, protection and sorting, with the actual removal sandwiched in the middle. Here’s what each stage looks like on a typical Toronto project, whether it’s a single office floor or a detached house.
1. Site assessment
Everything starts with a walk-through. The contractor looks at the structure, the access routes, the condition of anything that has to stay, and the neighbours on every side. On an interior job that means corridors, elevators and the loading dock. On a house it means the lane, the trees, the shared walls and the overhead wires.
2. Surveys and information
Before a price can be firm, someone needs to know what’s in the building. A designated substances survey identifies asbestos, lead, silica and other regulated materials in the work area. Structural drawings, if they exist, show what’s holding what up. Missing information isn’t a reason to stop, but it belongs in the scope as an open item rather than a guess.
3. Scope and approvals
The written scope turns the walk-through into a document everyone signs: what’s removed, what’s retained, who handles disconnections and what the finished space looks like. Approvals run alongside it. Depending on the job, that could mean a City demolition permit, landlord or condo consent, a tree permit or a permit to place a bin on the street.
4. Protection and make-safe
This is where demolition processes earn their keep. Retained finishes get covered, floors get boarded and dust barriers go up between the work zone and occupied space. Utilities are isolated: electrical made safe by a licensed electrician, gas shut off by the utility, water capped. Nothing comes down until the area is confirmed dead and protected, and a quick go/no-go check before release is worth the ten minutes.
5. Hazardous material removal
If the survey found asbestos or other designated substances in the removal area, trained workers deal with them first, under Ontario’s regulations, before general demolition starts. Doing it in the other order spreads contamination and puts people at risk.
6. Removal and sorting
Now the visible work begins. Interior demolition usually moves from the top down and from finishes inward: ceilings, fixtures, partitions, then floor coverings. Structural demolition follows a planned sequence so no section is left unsupported. Throughout, material gets separated as it comes out. Metal, clean wood, concrete and drywall often go to different places, and sorting on site is usually cheaper than paying someone to sort later.
7. Debris removal and handover
The last stage is getting material off site and leaving the space in the agreed condition. Downtown, that may mean dozens of freight elevator trips scheduled around building rules. At the end, the contractor and the owner, or the next trade, walk the space against the scope. Capped services get labelled, the floor is swept or scraped as agreed, and any open items are written down.
Why the order matters
Skipping a stage doesn’t save time. It just moves the problem. A crew that starts removal before the survey is back may hit asbestos and have to stop. A job without a written handover condition ends with an argument about whether the floor is clean enough. Following the sequence keeps those surprises small and cheap.
Planning your project
SiteClear builds every job around a written scope and an agreed handover, from interior strip-outs to full structural demolition. If you’d like to see how these stages apply to your building, request a free estimate or call 647-693-1416. We answer 24/7.